Enamel Microabrasion: A Step-by-Step Guide
Enamel microabrasion is a proven cosmetic dental technique used to treat superficial enamel discoloration, including white and brown decalcification stains often caused by fluorosis. This minimally invasive procedure removes minor surface defects to reveal smoother, brighter enamel, improving the aesthetics of your smile. One commonly used system is Opalustre, a 6.6% hydrochloric acid slurry containing silicon carbide microparticles, which combines gentle chemical and mechanical abrasion for effective stain removal.
Understanding Enamel Microabrasion
Enamel microabrasion is ideal for patients with mild enamel defects less than 0.2mm in depth. It addresses surface-level staining and decalcification without removing significant enamel, making it a safe option for enhancing tooth appearance. Opalustre, used with rubber prophy cups (OpalCups), allows dentists to precisely target affected areas, producing a uniform, polished finish.
Step-by-Step Enamel Microabrasion Procedure
- Baseline Assessment
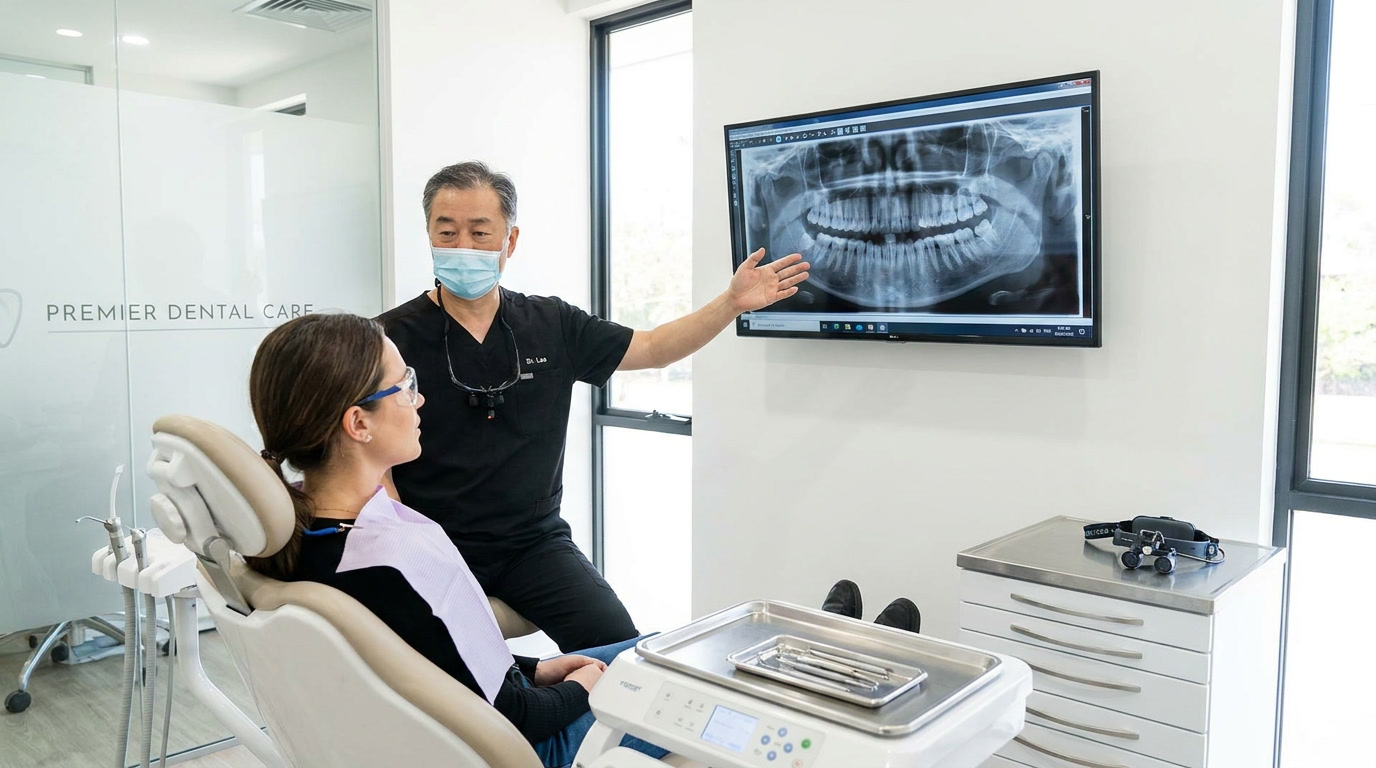
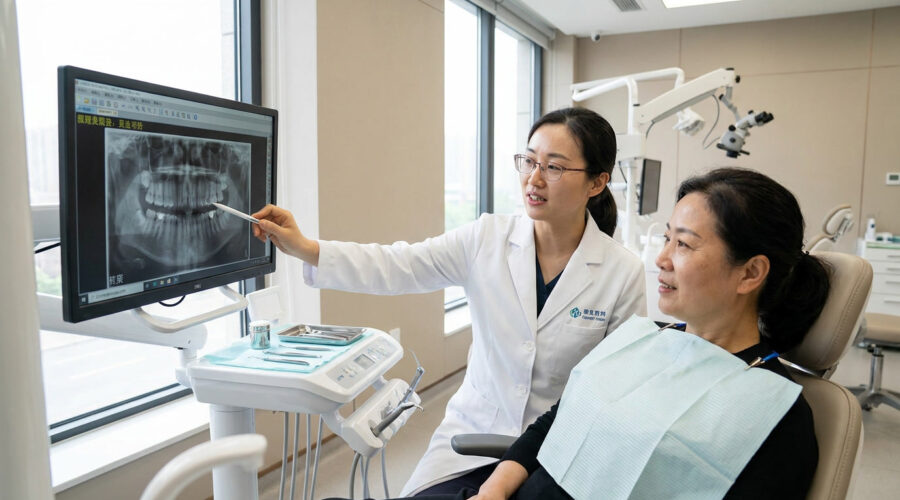
Before starting the procedure, it’s essential to record the initial condition of the teeth. Dentists often take photos to track progress, which also helps patients understand the improvements after treatment. - Protect Soft Tissues
Safety is a priority. A rubber dam is applied to isolate the teeth and protect gums, while a light-cured resin barrier at the gingival margin can provide additional protection if desired. - Applying Opalustre
Working on 2–3 teeth at a time, apply a 1mm layer of Opalustre over the discolored enamel. Using a rubber prophy cup at around 500 RPM, apply medium to firm pressure for about 60 seconds. This combination of mild chemical action and gentle abrasion removes surface stains effectively. - Rinsing and Evaluating
After treating each section, suction and rinse the teeth thoroughly. If the paste becomes thin, adding more Opalustre can help maintain moisture and prevent overheating. After rinsing, assess the results and repeat the procedure if necessary. - Addressing Deeper Hypo-Mineralization
For patients with enamel defects greater than 0.1–0.3mm, a fine-grit, water-cooled tapered diamond bur can be lightly used for 5–10 seconds before applying Opalustre. This ensures deeper stains are adequately prepared for the microabrasion process. - Final Evaluation and Follow-Up
Once treatment is complete, the dentist evaluates the final shade using a shade guide and takes post-procedure photos. If additional whitening is desired, treatments such as Opalescence PF, Opalescence Go, or Opalescence Boost can be recommended based on patient comfort and results.
Important Considerations
Some patients may have deep hypo-mineralization or stubborn stains that require prolonged at-home whitening or, in rare cases, aesthetic restorations. If restorative treatment is needed, it’s best to wait at least two weeks after whitening to ensure optimal bond strength and color stability.
Benefits of Enamel Microabrasion
Enamel microabrasion offers several advantages:
- Removes superficial stains effectively, revealing a brighter tooth surface.
- Minimally invasive, preserving the majority of the enamel.
- Combines chemical and mechanical actions for consistent results.
- Often quick and painless, usually completed in a single dental appointment.
- Prepares teeth for additional cosmetic whitening if desired.
Enamel microabrasion is a reliable, minimally invasive method to improve the appearance of teeth affected by superficial staining or decalcification. When performed correctly, it can restore a smooth, radiant, and natural-looking smile. For those with mild enamel defects, this procedure provides a quick and effective way to enhance dental aesthetics.
Consult a dental professional to determine if enamel microabrasion is the right choice for your teeth and to ensure safe and effective results.